


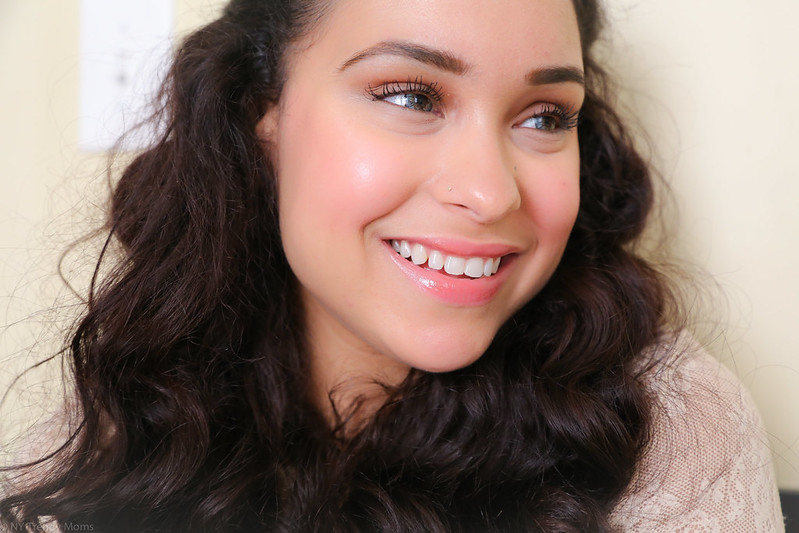
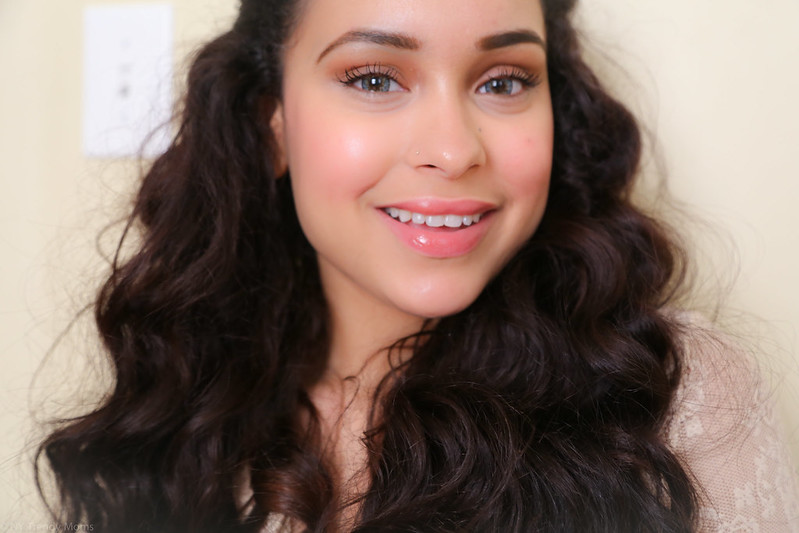
We all know a smile is a women's best accessory & so is having flawless skin.
Today I will be sharing my tips on how to create flawless skin with a few products. Let's get started!
______________________
Todos sabemos que una sonrisa es el mejor accesorio de la mujer y también lo es tener una piel perfecta. Hoy voy a compartir mis consejos sobre cómo crear una piel perfecta con unos pocos productos. Empecemos!
Step 1: Wash and Exfoliate your face.
This is a crucial step to getting a flawless finished look.
Also make sure to clean any brushes prior to using them. I like cleaning mine with baby shampoo twice a week.

This is a crucial step to getting a flawless finished look.
Also make sure to clean any brushes prior to using them. I like cleaning mine with baby shampoo twice a week.

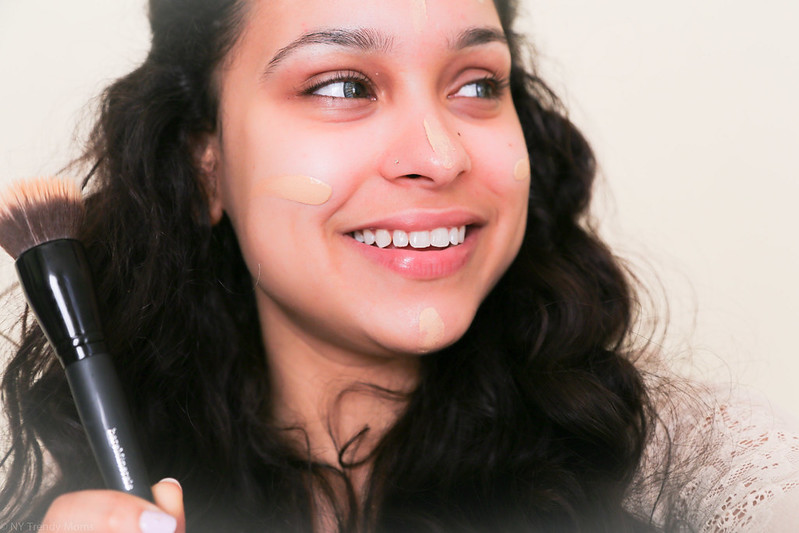
Step 2: Create Flawless Skin.
Apply your favorite moisturizer and sheer foundation. I like to use bareMinerals Complexion rescue which is a foundation, moisturizer and bb cream all in-one. The key is to let your natural skin shine through, not completely cover it up.
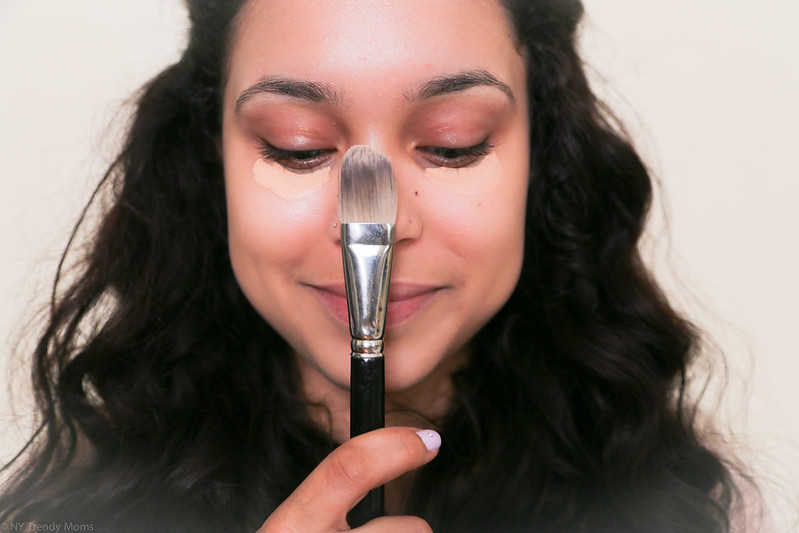
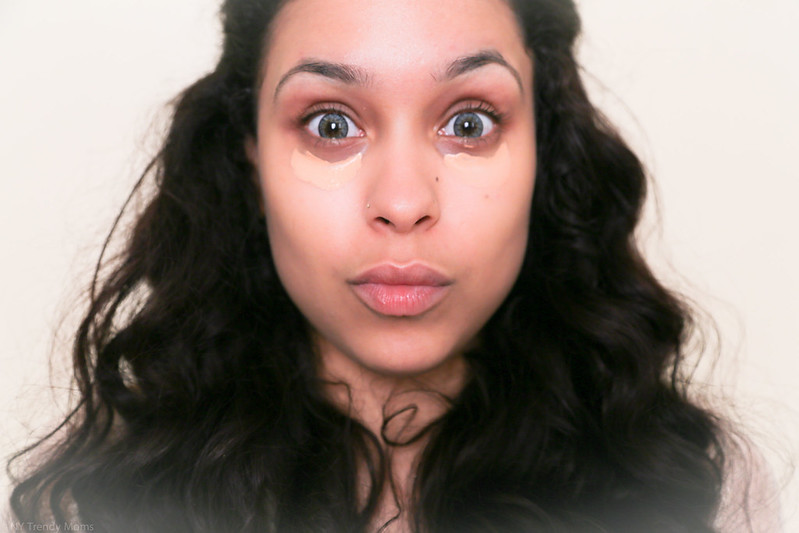
Step 3: Conceal.
Apply your favorite concealer to cover any blemishes. I tend to have really dark circles. Therefore, this is a step I wouldn't skip. I recommend using your finger tips to apply this or a flat brush. Remember try not to pile on too much product, we're going for a 'No-Makeup' look. Make sure to set the concealer with a translucent powder to prevent any creasing.
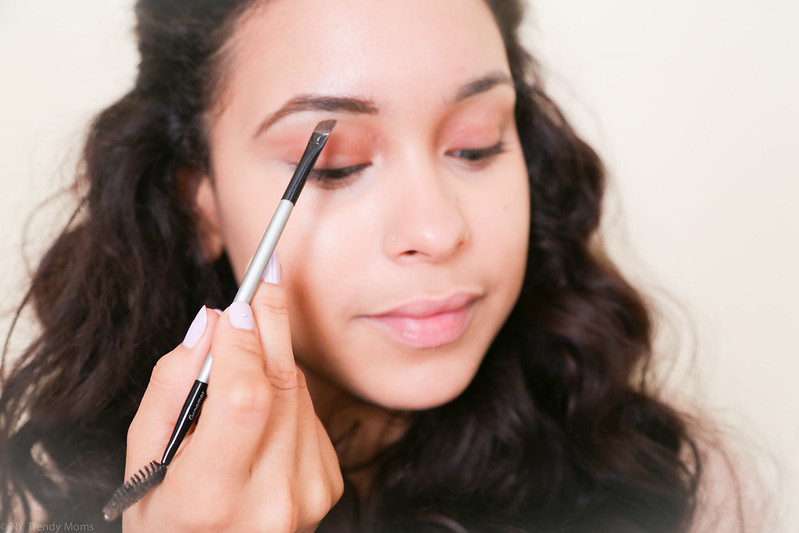
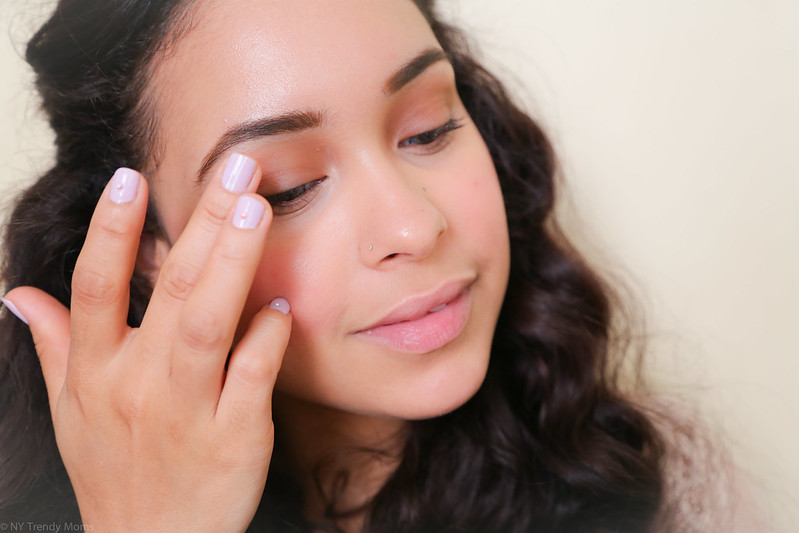
Step 4: Fill In the blanks.
Brush and fill-in your eyebrows with a light brown eyeshadow to enhance them. Resist filling them in too heavily, however make sure they are defined to pull the look together. While you're at it, apply a neutral color on your crease to define the eyes (I like to use the same eyebrow eyeshadow).
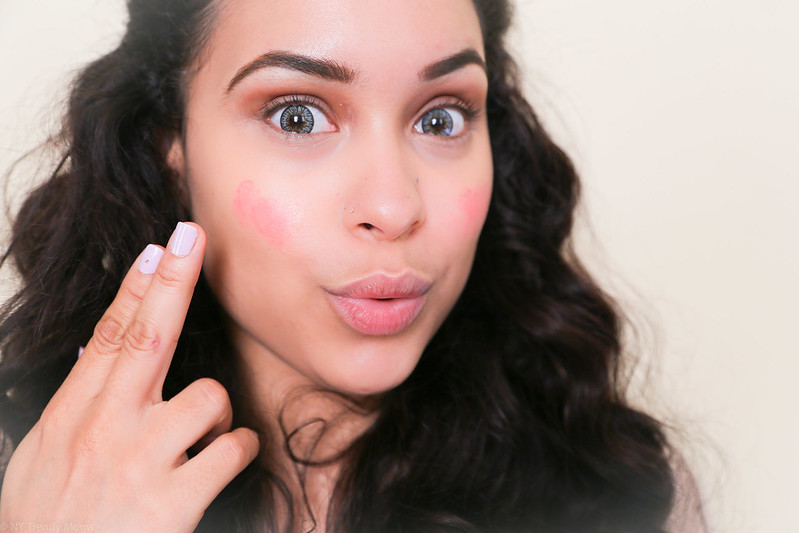
Step 5: Rosy Cheeks
Cream blushes are perfect for creating natural rosy cheeks. I love using this On the Go' Palette from Charlotte Tilbury which can be used all over your face. I like dabbing it on the apples of my cheeks, making sure the edges are throughly blended out.
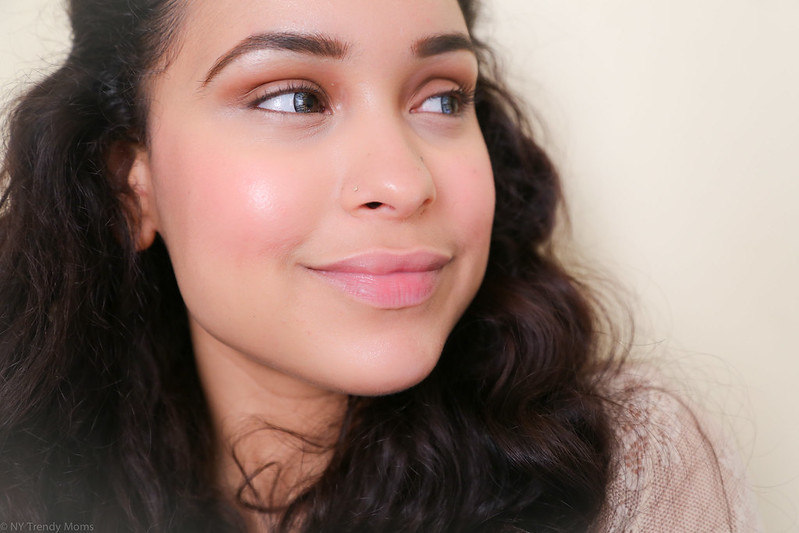
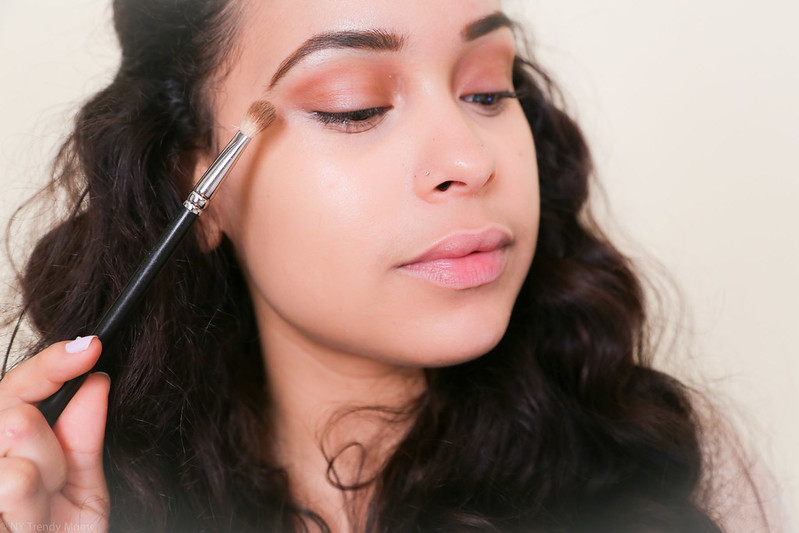
6. lightly highlight your brow bone and cheekbones.
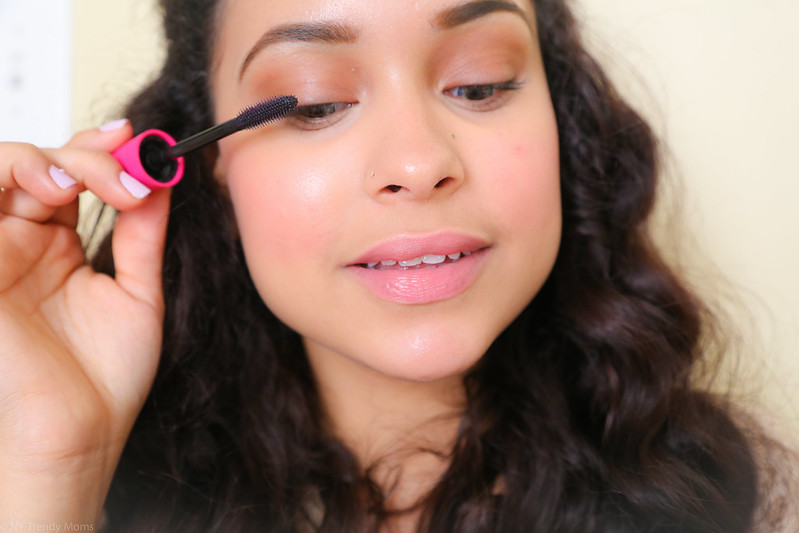
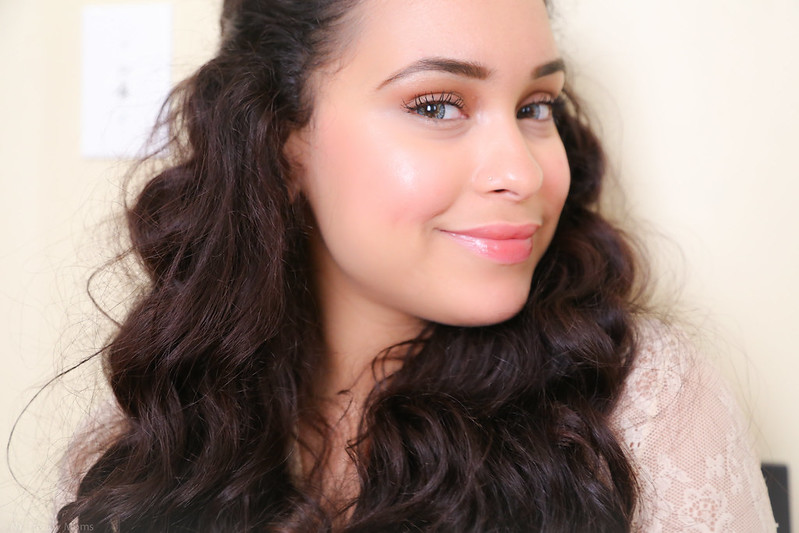
Step 7: Apply one layer of your favorite mascara.
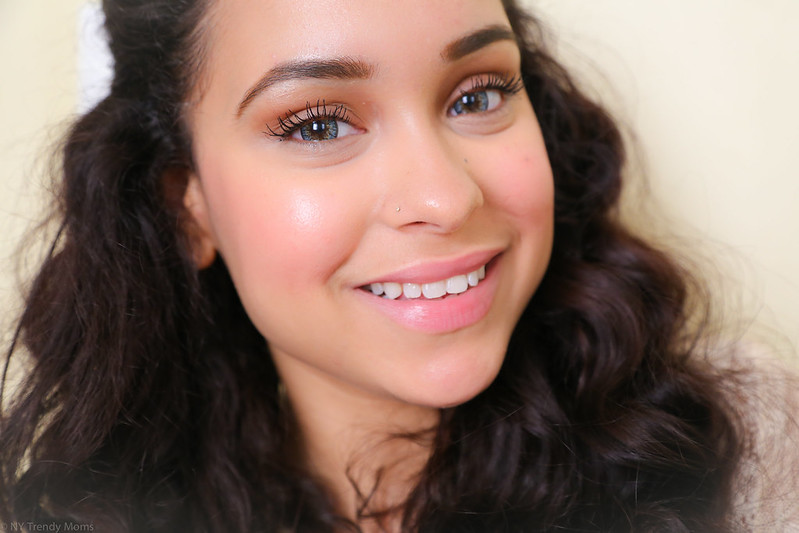
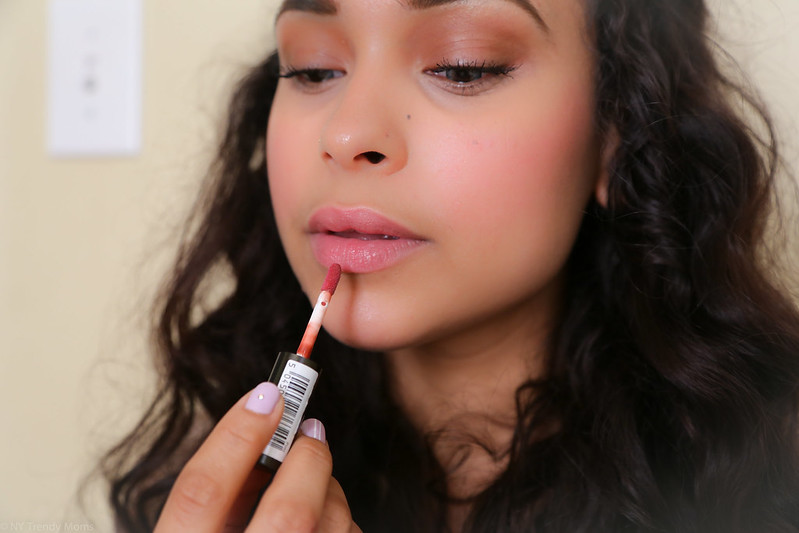
8. Finish the look with a (not too glossy) lipgloss that compliments your skin tone.


This comment has been removed by a blog administrator.
ReplyDelete